High-altitude gear succeeds through three simple rules: wear a breathable four-layer clothing system so sweat never freezes against your skin, match your boots strictly to your peak's elevation (double boots above 6,000m), and pack your rucksack so your warm shell, headlamp, and water thermos are accessible in five seconds.
The Golden Rule of Layering: Never Sweat in the Cold
In sub-zero mountain environments, moisture is your greatest enemy. When you hike uphill under heavy effort, your body generates heat and sweat. If that sweat is trapped in cotton or non-breathable fabrics, it sits against your skin. The moment you pause on a windy ridge, that damp fabric chills down, dropping your core temperature precipitously.
Layer 1 (The Moisture Wick): Lightweight Merino wool or high-performance synthetic thermal top and bottoms. These pull moisture off your skin and stay warm even when damp.
Layer 2 (The Active Breathable Mid-Layer): A breathable grid fleece or lightweight synthetic jacket (like Polartec or PrimaLoft) that traps warmth while letting heat escape during steep ascents.
Layer 3 (The Weather Armor): A durable 3-layer Gore-Tex or waterproof-breathable hard shell jacket and pants that block biting winds and blowing snow completely.
Layer 4 (The Summit Sanctuary): An 800-fill down expedition parka with a deep storm hood. You keep this compressed near the top of your pack and pull it on over everything during rest stops, at high camps, and during the midnight summit push.
Mountaineering Boots: Single vs Double Boots
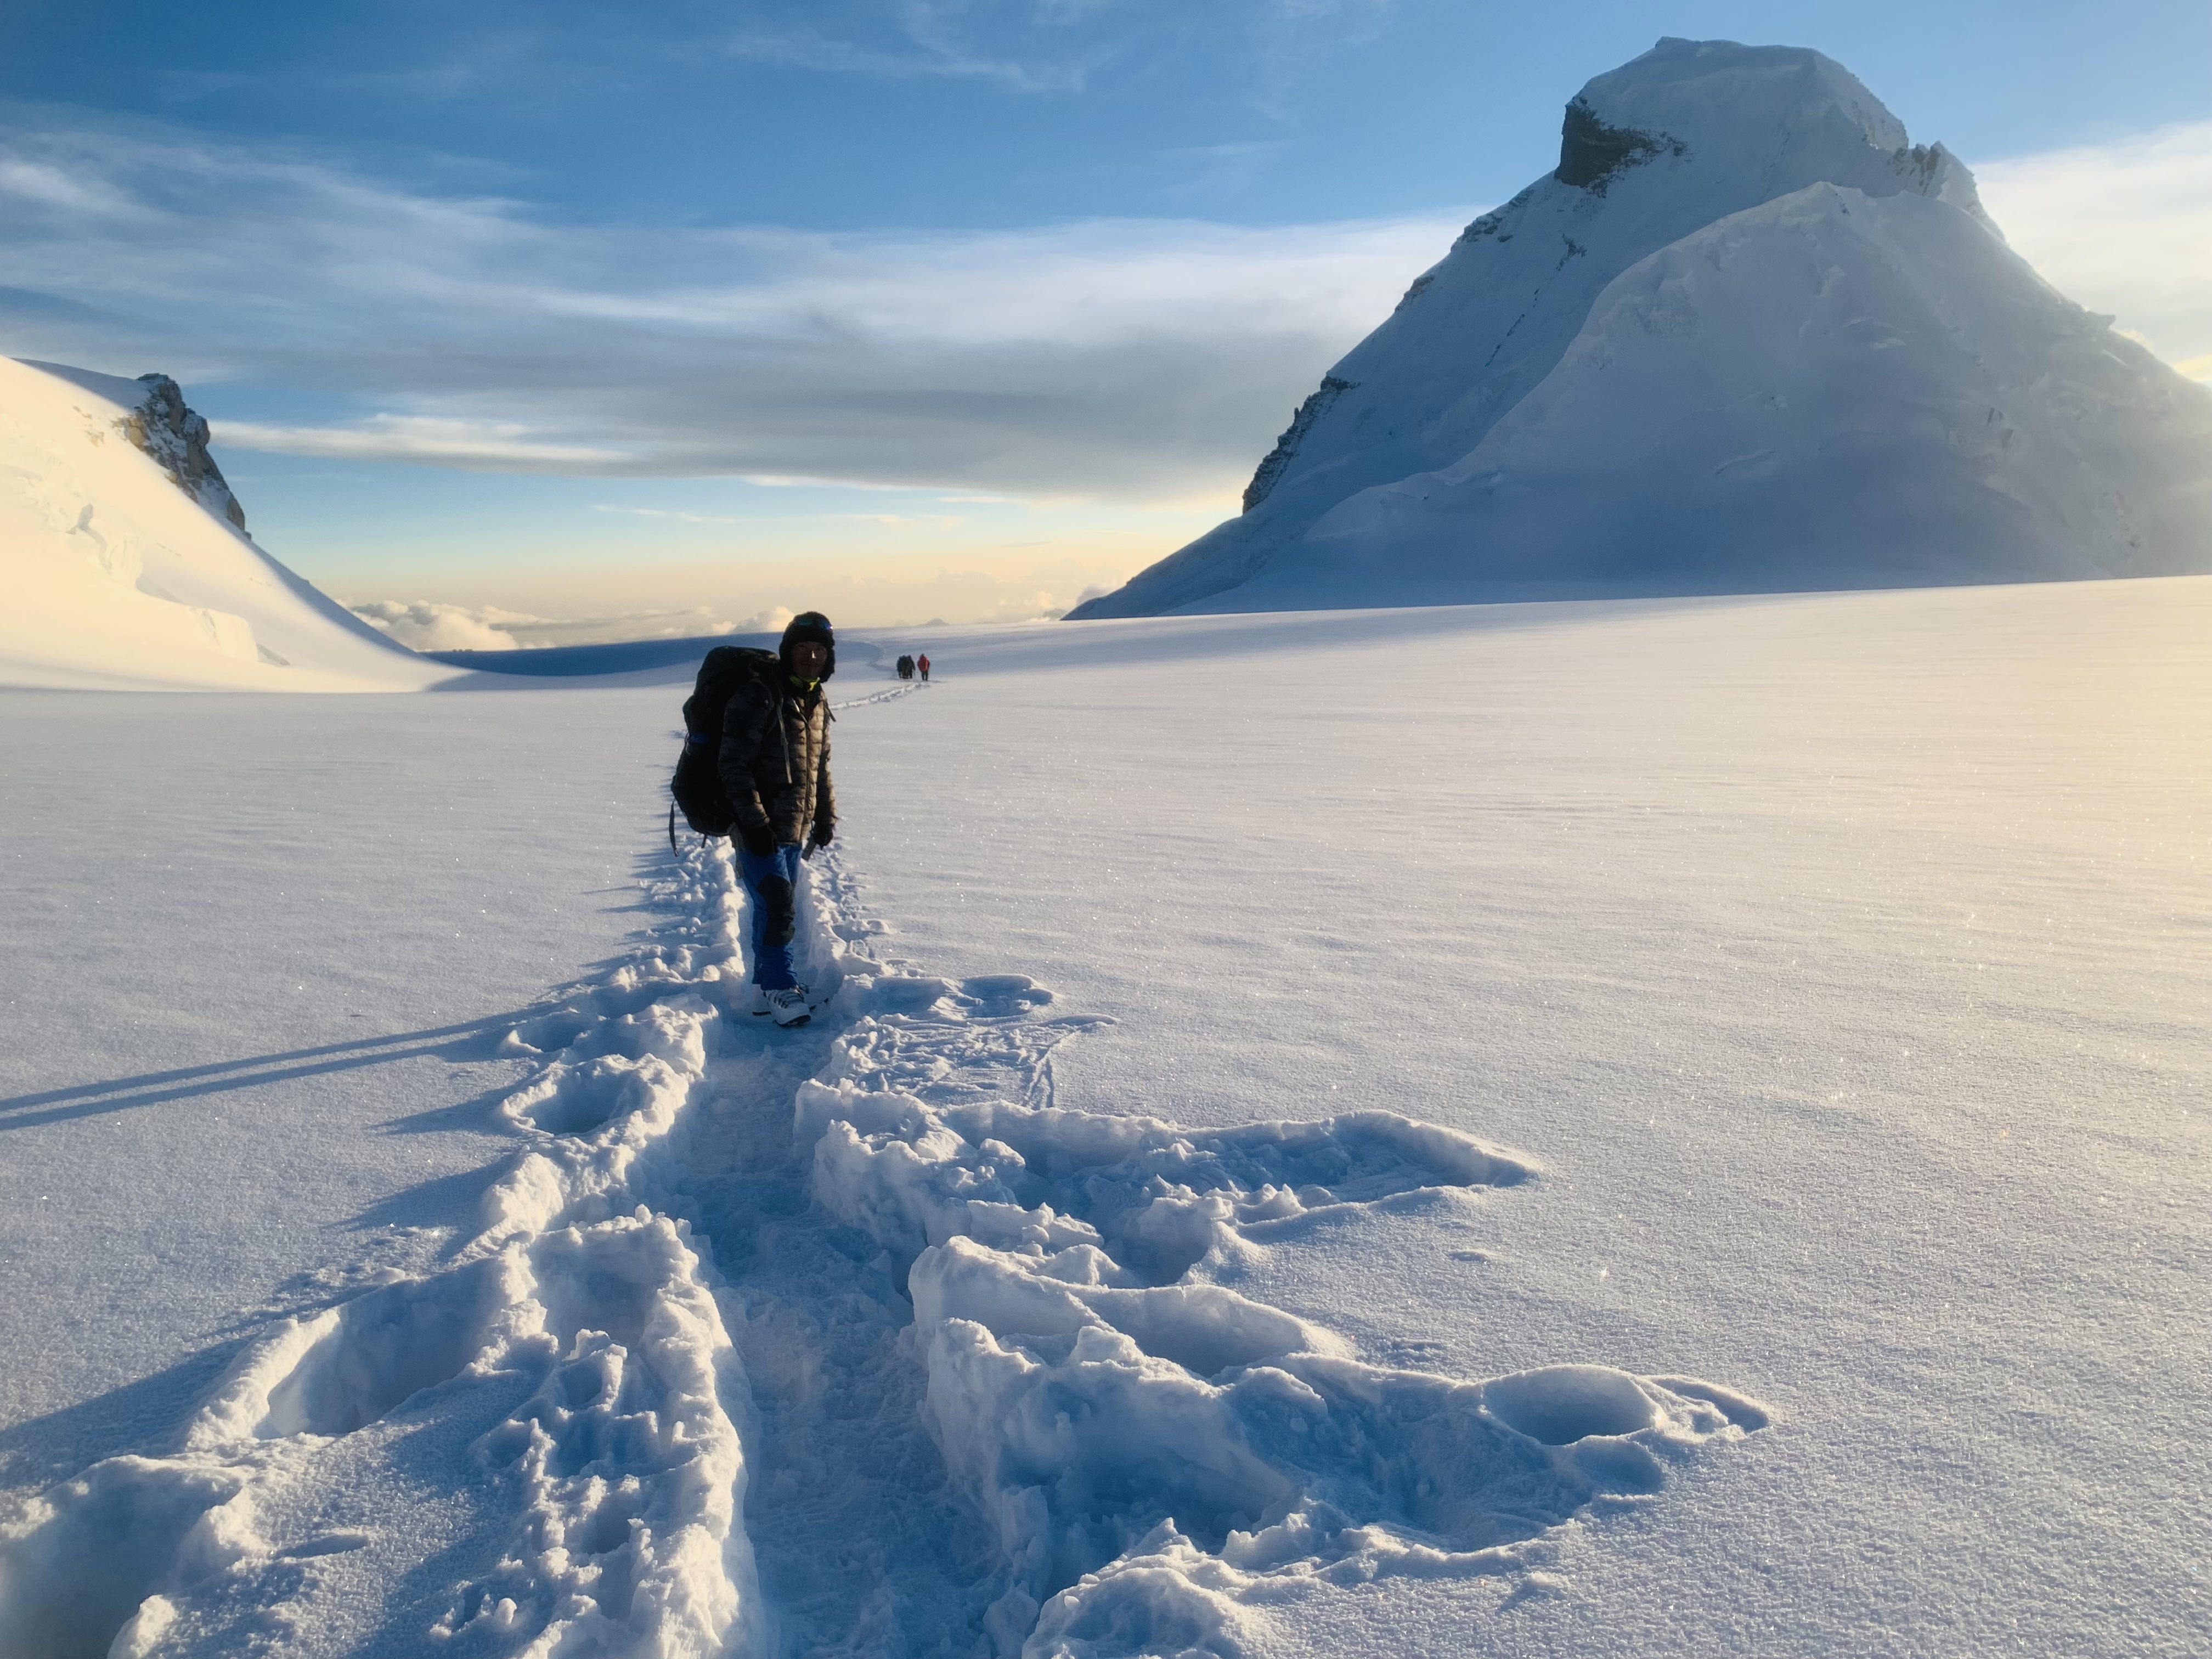
Your feet are in direct contact with frozen snow and glacier ice for hours on end. Ordinary trekking boots that work beautifully on hiking trails have flexible soles and insufficient insulation; using them on a 6,000m peak risks severe frostbite and loose crampon slips.
For peaks like Friendship Peak (5,289m) in late summer, insulated B2 mountaineering boots with semi-rigid soles are suitable.
For glaciated peaks like Kang Yatse II (6,250m), Dzo Jongo (6,240m), or Mount Kun (7,077m), double boots (with a removable insulated thermal inner boot and a rigid outer shell) are essential. Removable inner boots can be taken into your sleeping bag at night so you slip your feet into warm, dry boots before a midnight alpine start.
Smart Rucksack Geometry: How to Pack Like an Alpinist
How you pack your 50 to 65-litre rucksack matters almost as much as what you put inside it. If you need your storm shell or mittens when wind gusts strike, you cannot afford to unpack your entire sleeping bag on an exposed scree ridge.
Bottom Zone: Lightweight, bulky items you won't touch until your tent is pitched—your sleeping bag, sleep pad, and camp socks.
Center Zone (Against Your Spine): Your heaviest items—technical climbing hardware, crampons in a protective pouch, and cook fuel—tucked snugly against your back to keep your center of gravity balanced.
Top & Lid Zone: Emergency and quick-access essentials: your Gore-Tex hard shell, warm summit mittens, sunglasses, sunscreen, headlamp, and insulated water thermos.
The Critical Small Things Climbers Forget
Lithium Batteries: Cold temperatures drain alkaline and phone batteries in minutes. Keep your phone, camera batteries, and headlamp in an interior pocket close to your chest warmth.
Category 4 Glacier Sunglasses: Sunlight reflecting off high-altitude snow is twice as intense as in the valley. Regular fashion sunglasses lack side shields and allow ultraviolet glare to enter, risking snow blindness in just a few hours.
Thermos Flasks: Ordinary plastic hydration bladders with hose tubes freeze solid within thirty minutes above 5,000 metres. Always carry wide-mouth vacuum-insulated stainless steel flasks filled with hot water.
“Every item in your pack should earn its weight. Carry what keeps you warm and safe, leave the rest in the valley, and test every zipper before you leave base camp.”